
The Quarry Phoenix Kiln Workshop
Online Discussion of Slips and Glazes for wood firing soda glaze.
Background
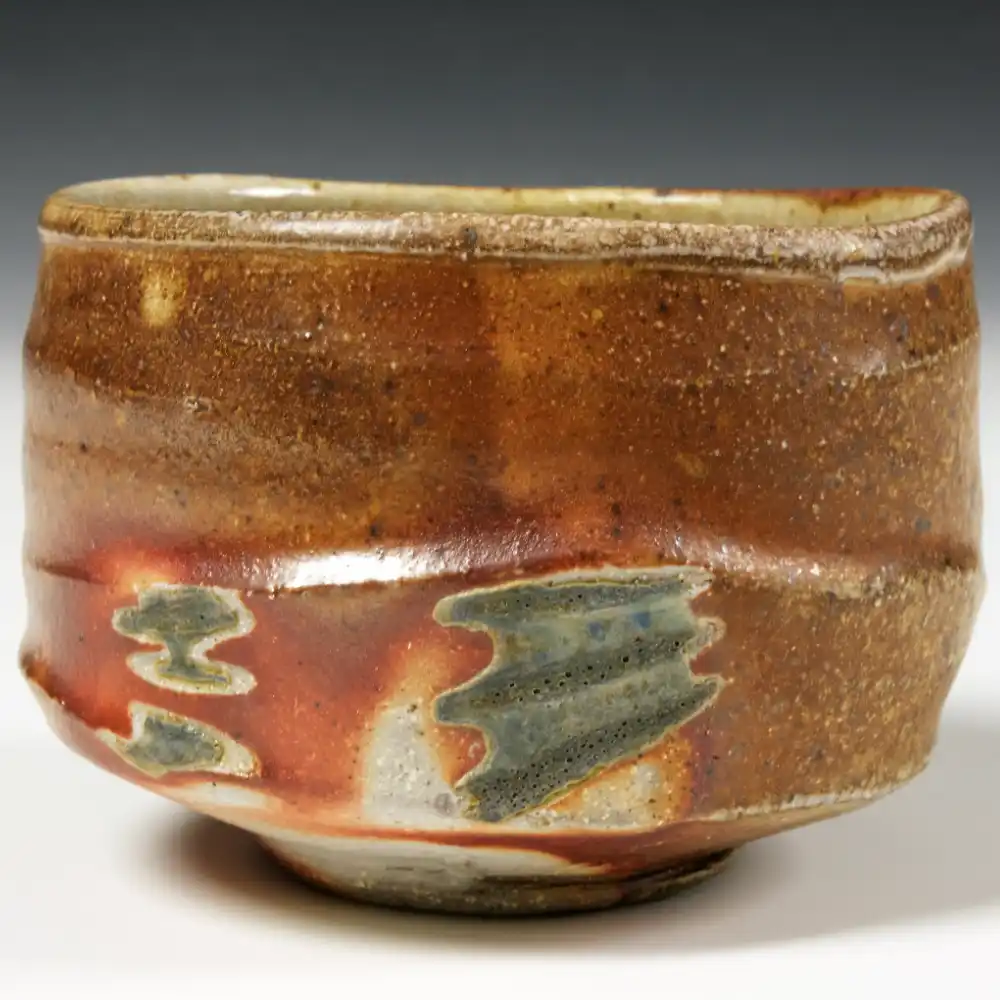
The wood firing soda glazing process offers great potential to create interesting and complex surfaces. The kiln is fired to around 1300 degrees (cone 10) and the soda is introduced from about cone 7 to cone 10. It is the interaction between the fly ash produced from the firing and the addition of a powerful flux (soda ash) with the surface of the clay that results in the effects. Added to this mix is that the kiln is under reduction from about 850 degrees to the end – this alters the way different colouring oxides react, the main oxide present is iron, either in the clay, slip or glaze and can produce a wide range of colours. When we look at various clays, slips or glazes the key ingredient is silica, the amount of silica present directly translates into the amount of glass formed.
Clays
Choosing a clay to make your work from is a balancing act, on the one hand it has to behave in the making process, on the other hand it has to cope with cone 10 and provide interesting surfaces with the soda. There is no perfect clay. The easiest approach is to choose more than one clay, usually a buff stoneware and a white firing option – then use slips and glazes to modify the base clay’s response to soda. Cone 6 clays can be problematic, occasionally they melt, or dunt spectacularly after the firing. When choosing a clay I look at the Alumina:Silica ratio (the more Alumina the better) and iron content (the higher the iron level, the darker brown the clay will go)
Examples
White stoneware
examples – White Special Stoneware, Primo WM2502, Primo stoneware RW1002, Primo Pro W-White, Potclays White Special Stoneware, Potters High Fire White Stoneware, PCW, JB3, B-Mix
Buff Stoneware
examples – Macs Buff, Primo Toast RW1802 Stoneware, Primo PRGI4002, White St Thomas, CB3, Feeney’s dark stoneware
Porcelain or similar (without slip are prone to carbon trapping)
examples – Primo High Fired Porcelain, Primo PW20, Potters Clay Classic White, Hanjiki Half Porcelain, Pot White Ajoo
Slips
Slipping is one of our major methods to influence colour and surface development in Wood Firing and Soda Glazing. There are a range of approaches used depending on clay choices, decorative desires and application methods. Care is needed that the particular slip you’re using is the right density for your application and clay. Sometimes slipping is used to hide the clay body, or add decorative options, or just add more tones than what the bare clay offers.
Application methods:
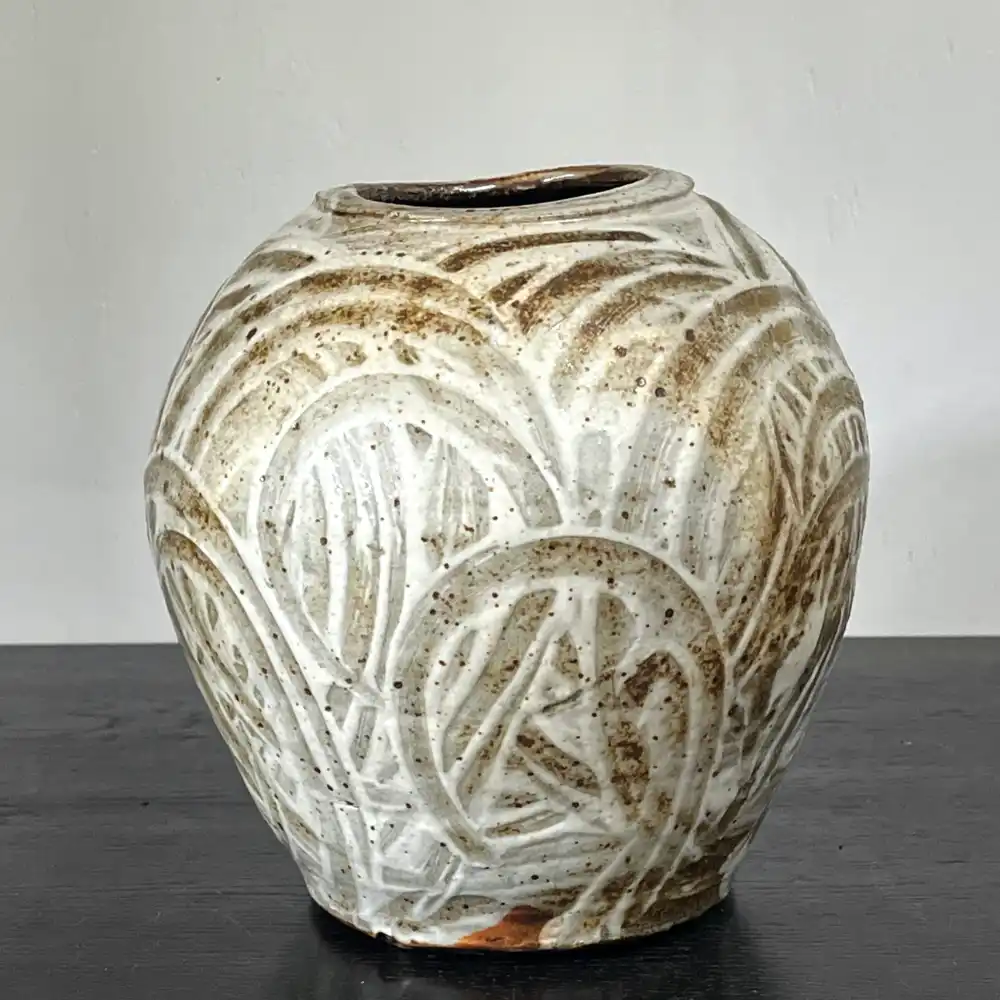
Raw Slipping – applied at the hard leather-hard stage, when the clay is virtually water proof. The slips can be cream to milk in consistency (getting this right requires practice and noting down the relative density). Pouring, dipping and brushed on all work well – no spraying as there’s no absorbancy. Additional decorative options include sgraffito, finger swiping, feathering.
When slipping leather hard clay then try to have the piece all at the same dampness.
Dry Slipping – applied at the bone dry stage. This is mostly used to create crackle slips and you definitely need to first test the thickness of the slip. Can be used to create more distinctive brushed slips. Spraying slips on is an option, care must be taken not to oversaturate and create runs.
Bisque Slipping – Spraying is your best option. Brushing and thin dips or pours are possible, test first to check for thickness, also if you slip after liner glazing then the absorbancy is reduced and it’s easier to get the thickness right.
Slip Types
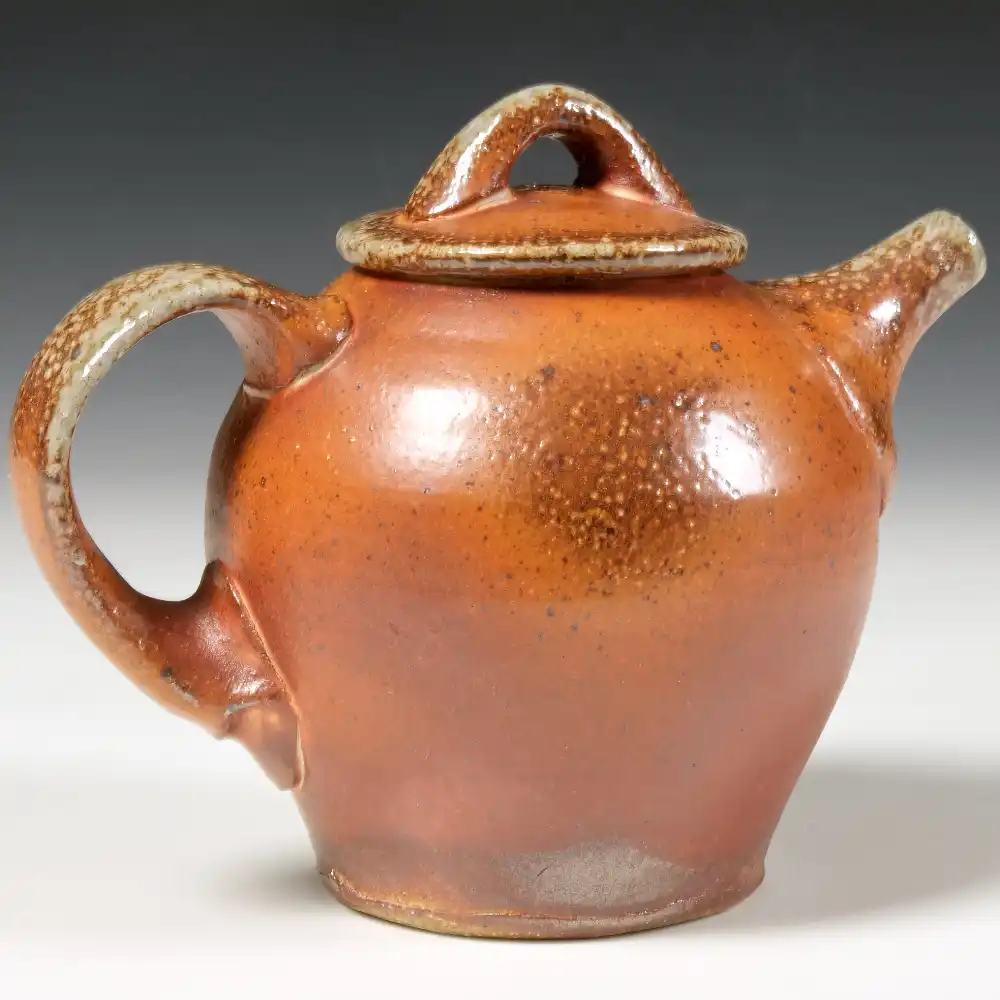
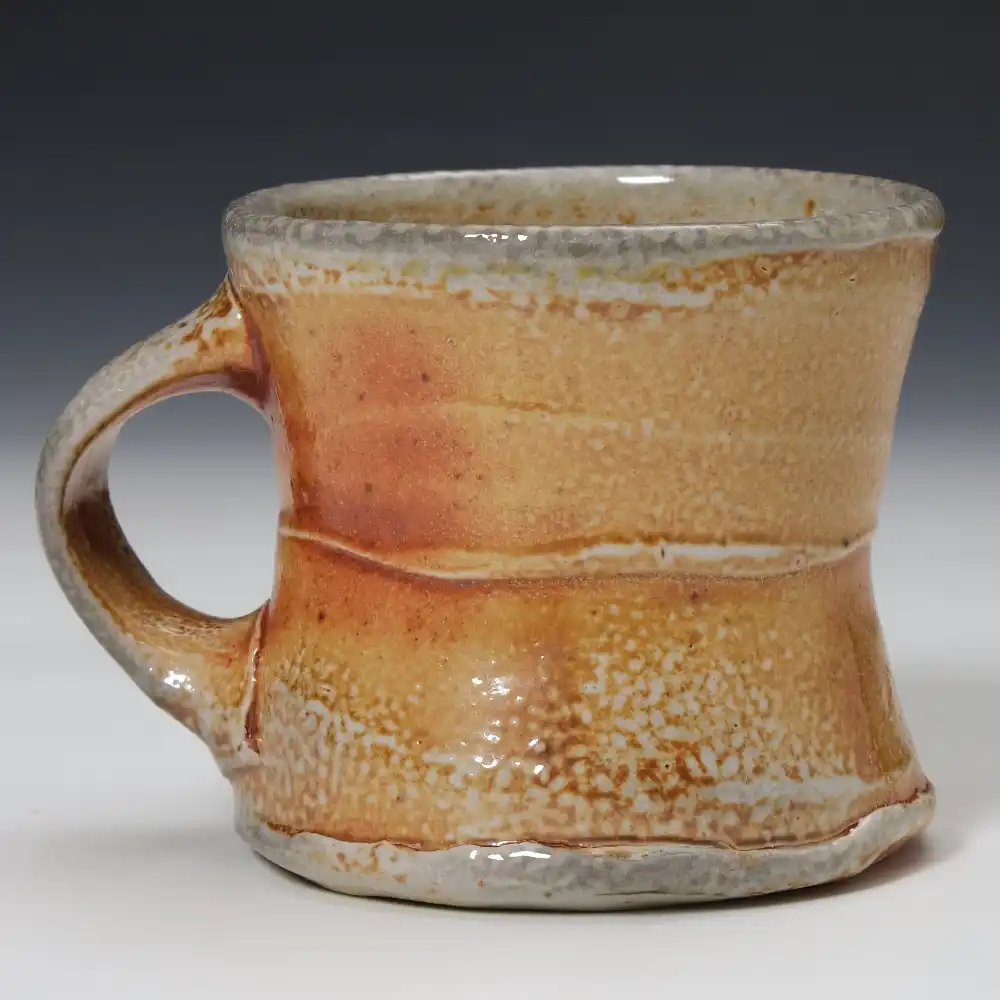
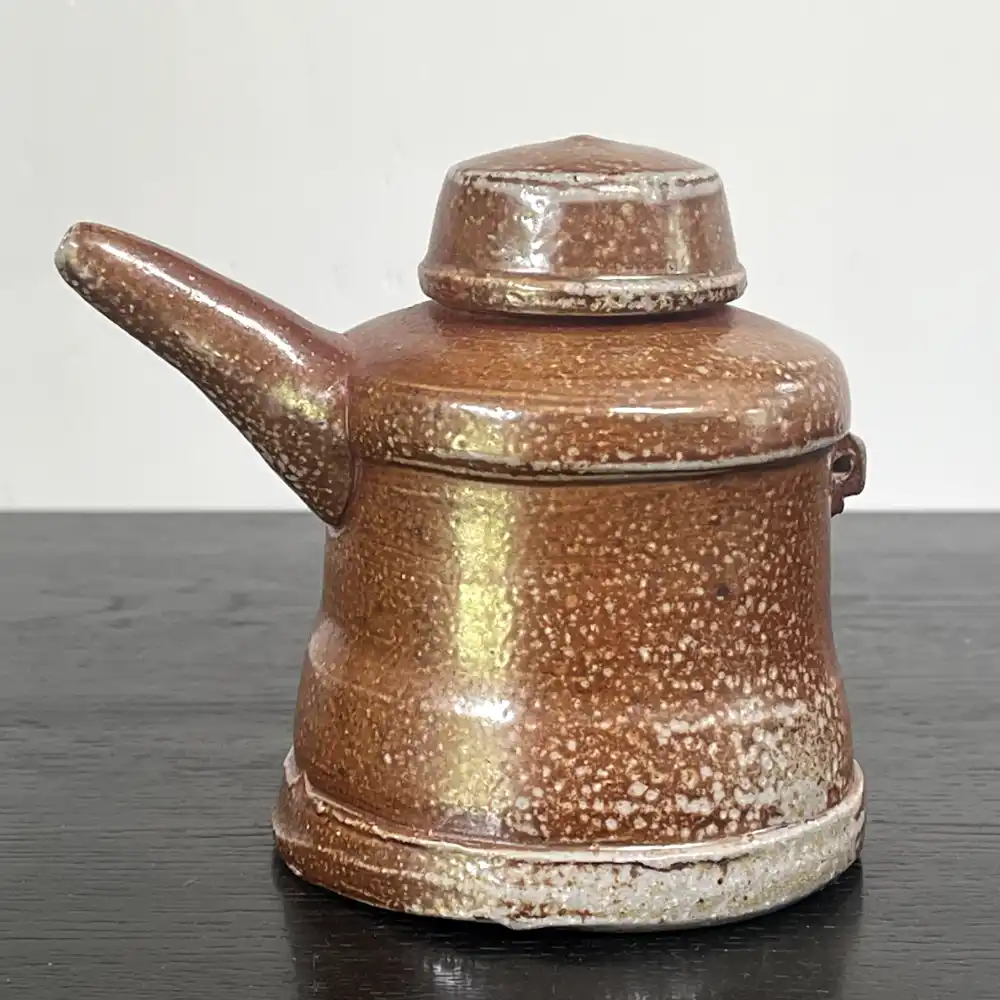
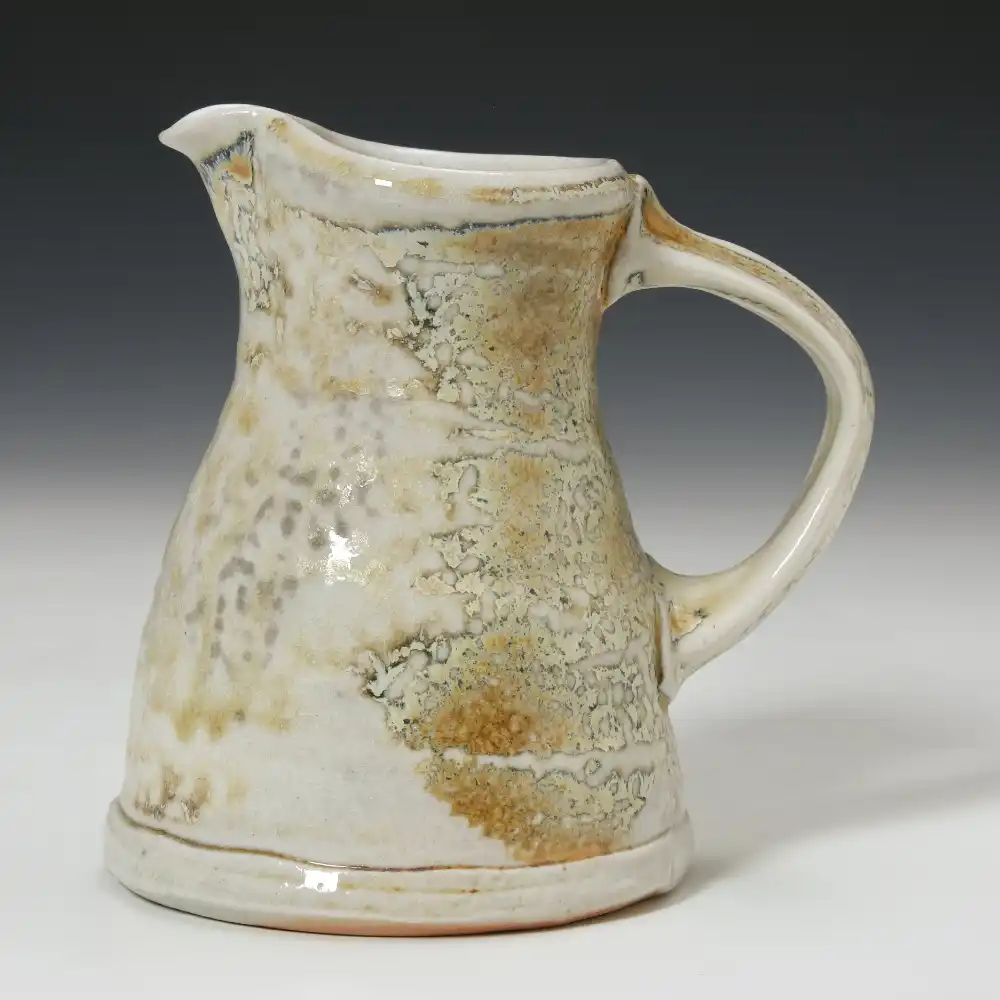
Flashing Slips
Are made from clays, fluxes, silica (sometimes), opacifiers. They are best thought of as modifiers of the clay body rather than a covering that obscures the clay (so Not like traditional earthenware slips), hence they are often applied as a thin coat. They can broaden the range of tones, help prevent excessive carbon trapping and offer more decorative opportunities. After bisque firing glaze can be applied over the top, usually with little change to the glaze.
Application methods on leather hard clay: Pouring, dipping, brushing.
Application methods on bone dry clay and bisque ware: Spraying.
Examples: 1:1:1, Bauer, Ohinemuri, Karangahake



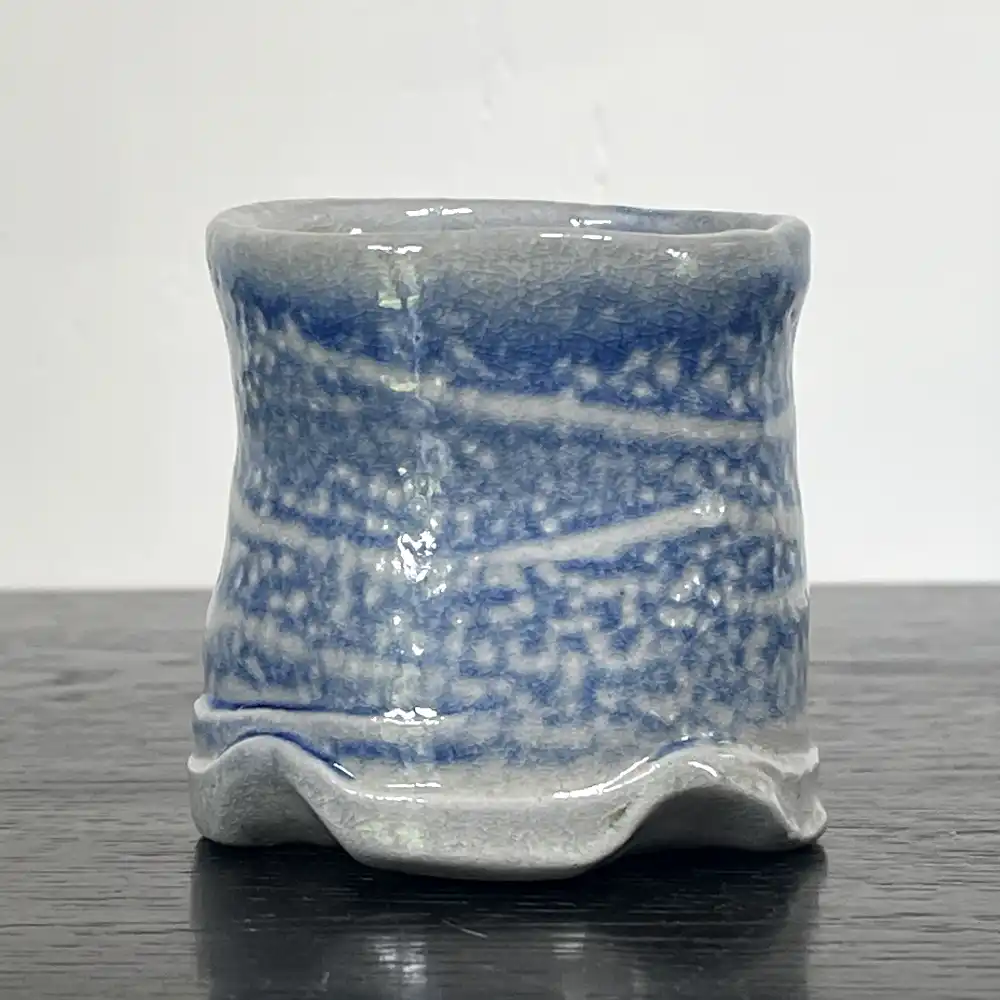
Coloured Slips
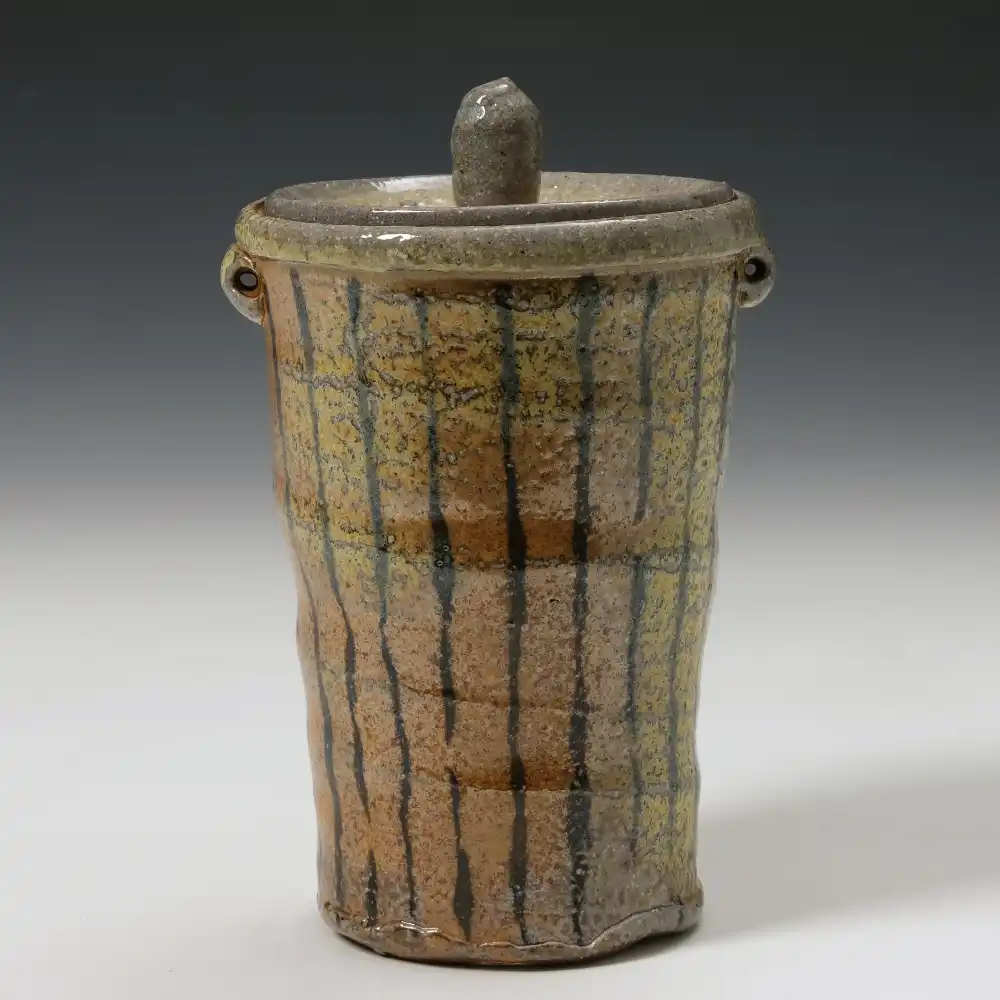
Often similar ingredients as flashing slips, they also include colourants. These slips do somewhat obscure the base clay, and are modified by it. Often applied at leather hard, they can be applied after bisque (depending on the slip).
Application methods on leather hard clay: Pouring, dipping, brushing, sgraffito.
Application methods on bone dry clay and bisque ware: Spraying, some brushing
Examples: Amarillo, Jane Hamlyn’s Blue, Black Line, White Line.





Effect Slips
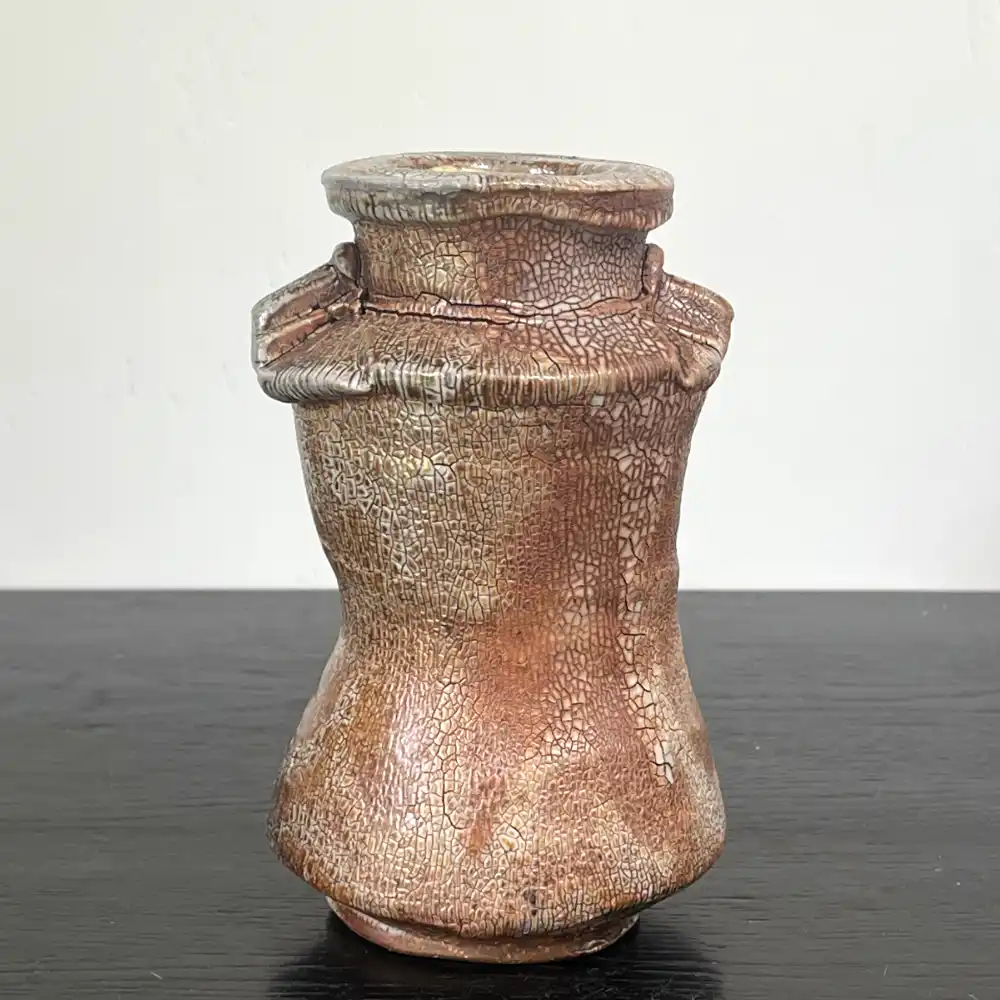
These are designed to create a texture as well as colour change. They are applied thick and you do need to test first on a waster.
Crackle slips need to be applied on bone dry work, on either exterior or interior surfaces, usually by pouring, brushing or dipping. Attention needs to be paid at rims as they can crack, use a sponge wash of water on areas that need thinner application.
Examples: Crackle, White Crackle


Hakeme slips are partially deflocculated slips that are only brushed on with a variety of different effects (depending on your brush and slip fluidity). They are applied only on leather hard clay.
Examples: Porcelain Hakeme
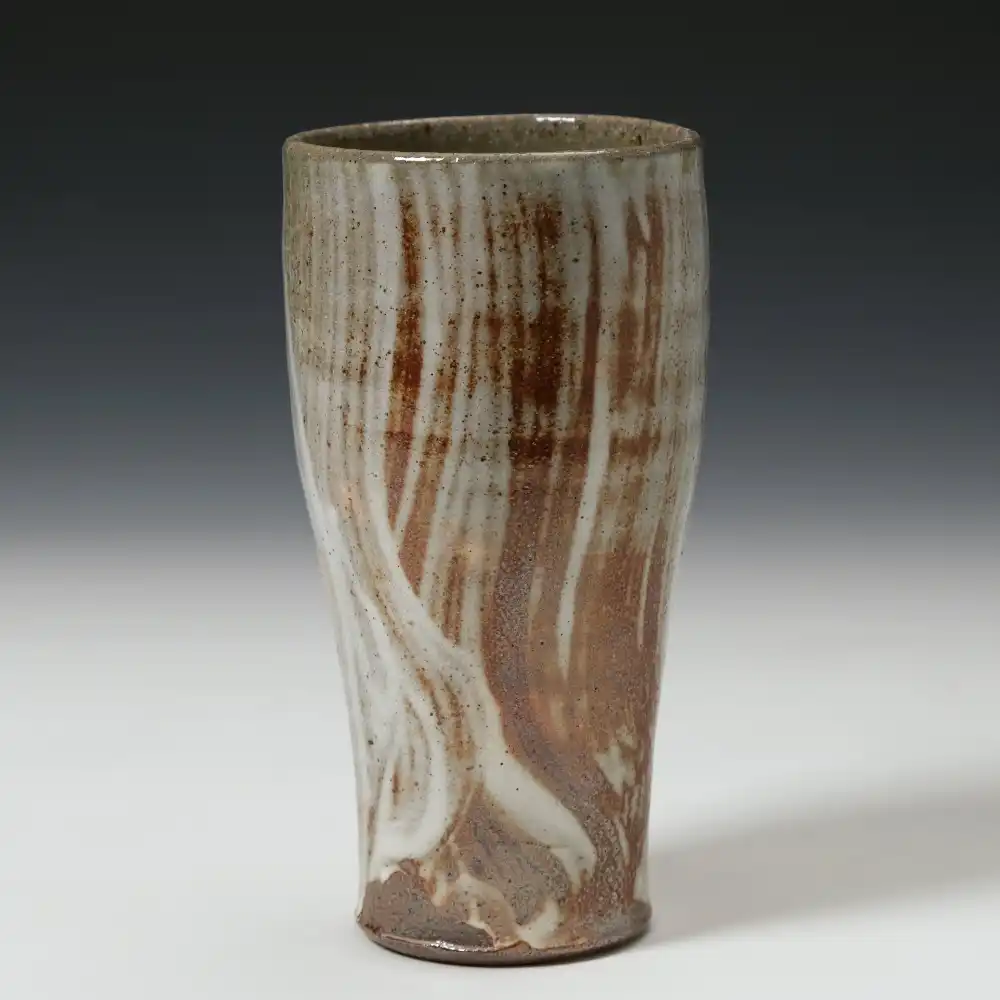
Finger swiping is a very gestural effect that needs to happen soon after slipping. It only works on leather-hard pots as you need to have the freshly applied slip stay wet long enough to make your marks. It pays to practice your movement before slipping as the only way to remove the error is to destroy the pot. The technique works with flashing slips, crackle slips, hakeme slips and coloured slips.


Glazing over slips (applied to bisque ware)
If you’ve applied your slipping on bisque ware then you can’t glaze over it without risking washing off the slip, unless you spray – but the combination may lead to crawling.
If applying both slips and glazes on bisque ware then start with glazing the interiors (liner glazing), ideally let the piece dry off, then apply the slip with the spray gun to the exterior.
Sprayed slips always need to be a little thicker that if the slip had been poured/dipped at leather hard due to the nature of the spraying process.
Glazes
Broadly speaking wood firing glazes fall into two categories
Liner glazes (interior)
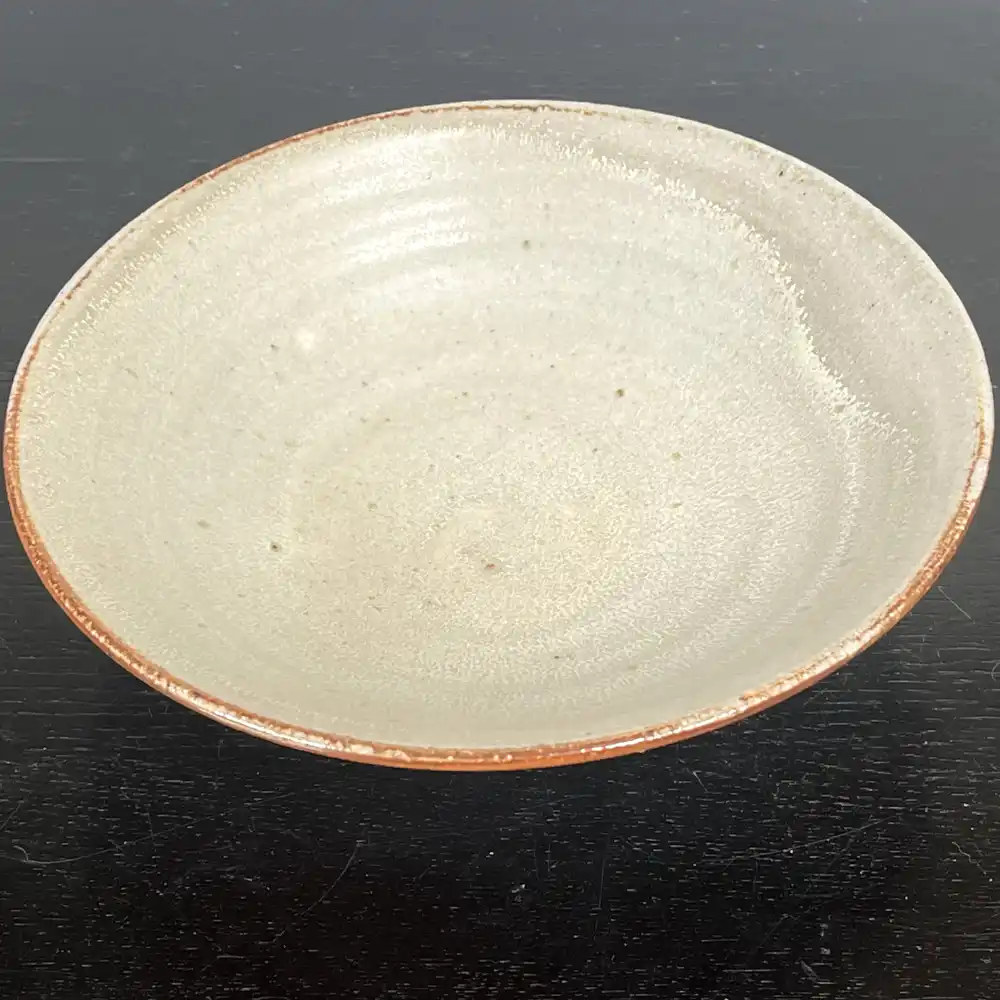
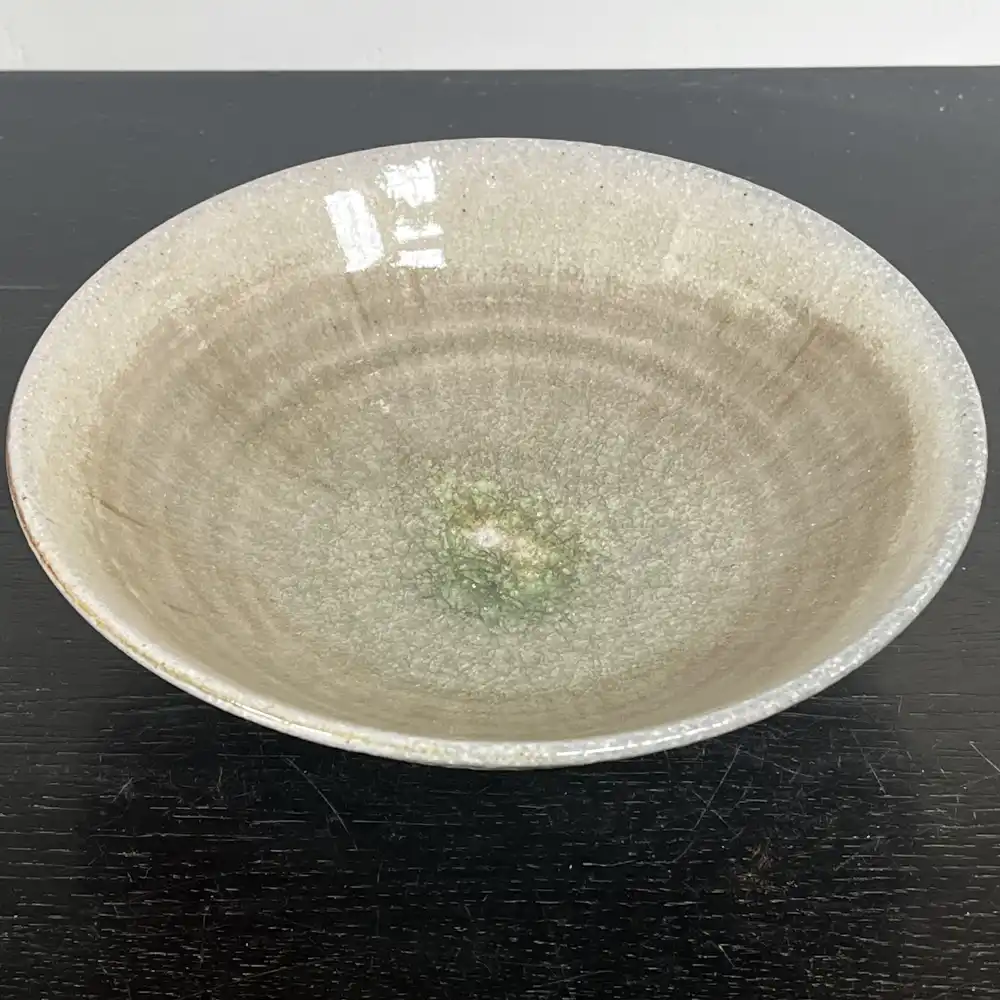
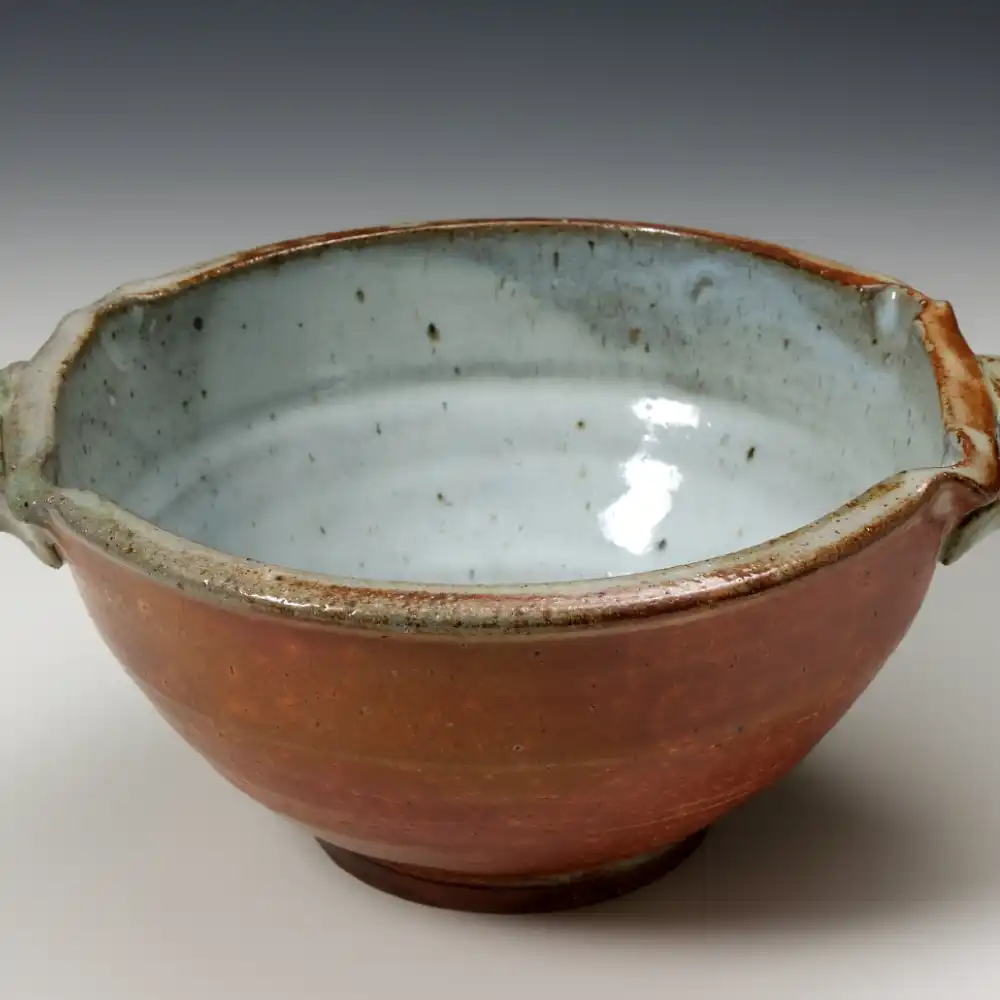
These are food safe and functional, glazes like celadon, shino, temmoku, ash, white limestone. Often they are chosen last as a compliment to the hoped for effects on the outsides. As these are only applied on the insides the soda has only a small effect near the rims, unless it’s an open bowl or plate form, then some liner glazes can change colour markedly (eg. Temmoku).
Application Methods
Usually pour in and pour out. Can be brushed on flat forms to create a swirl. If using a liner glaze and then applying an effect glaze you might need to use a resist to stop overlapping.




Exterior glazes
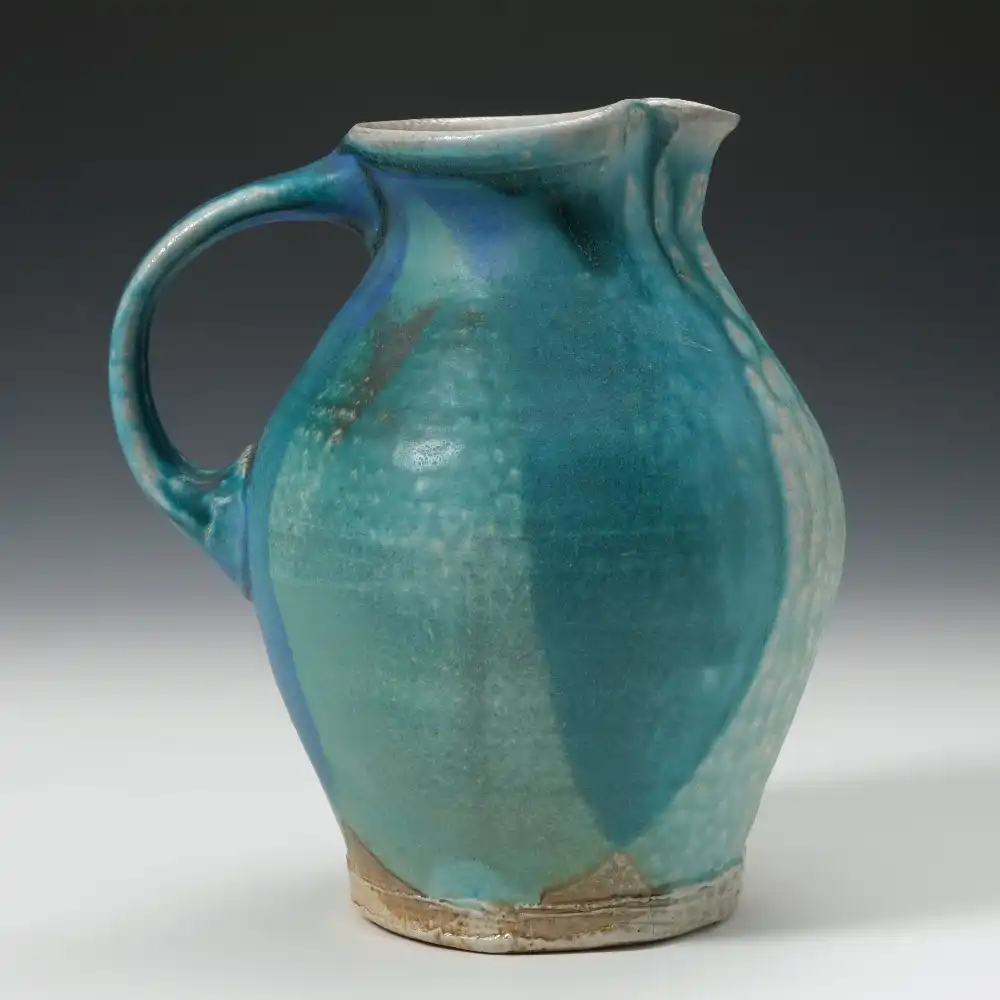
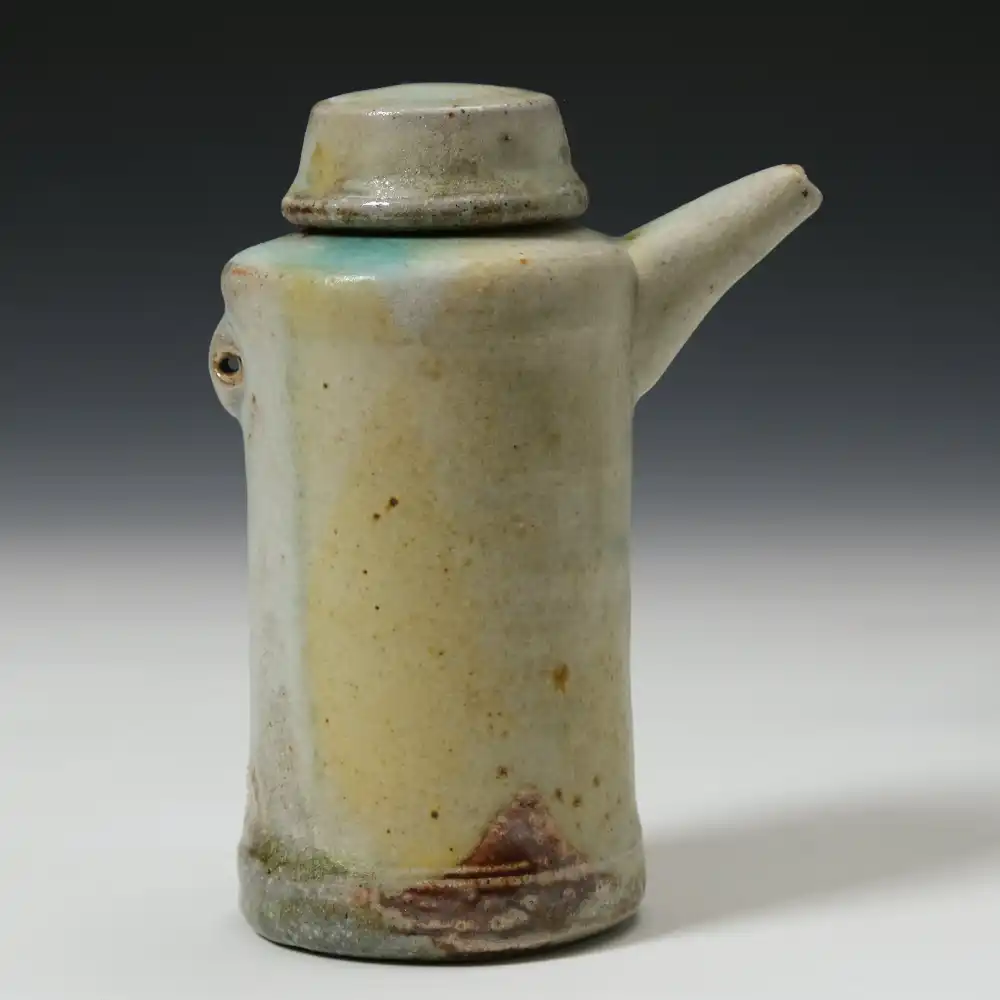
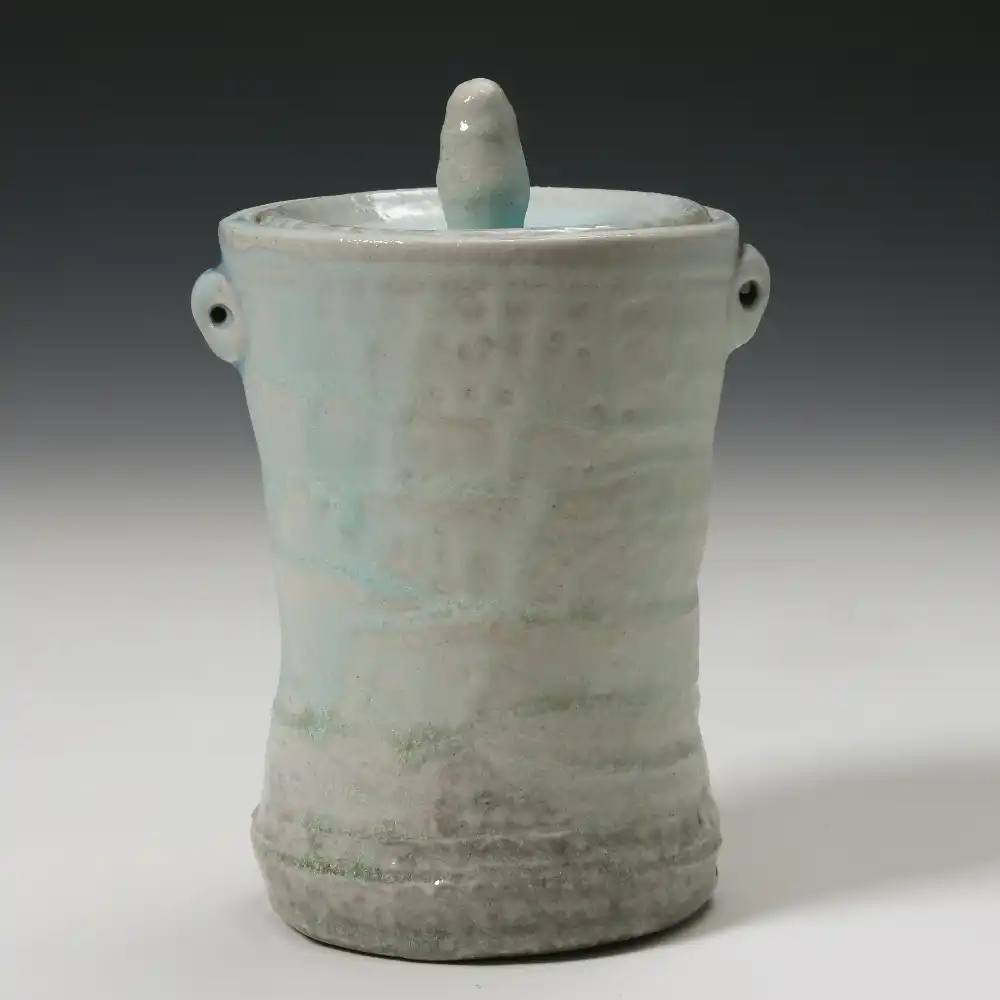
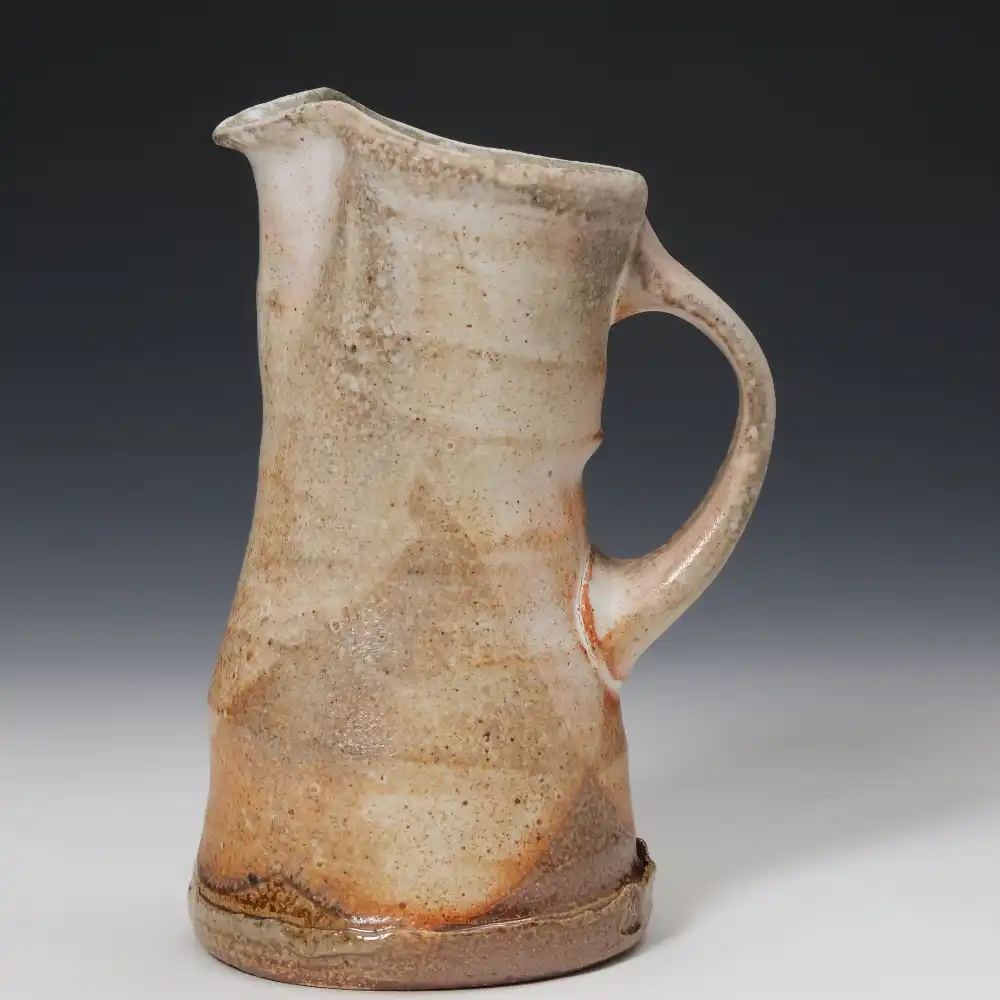
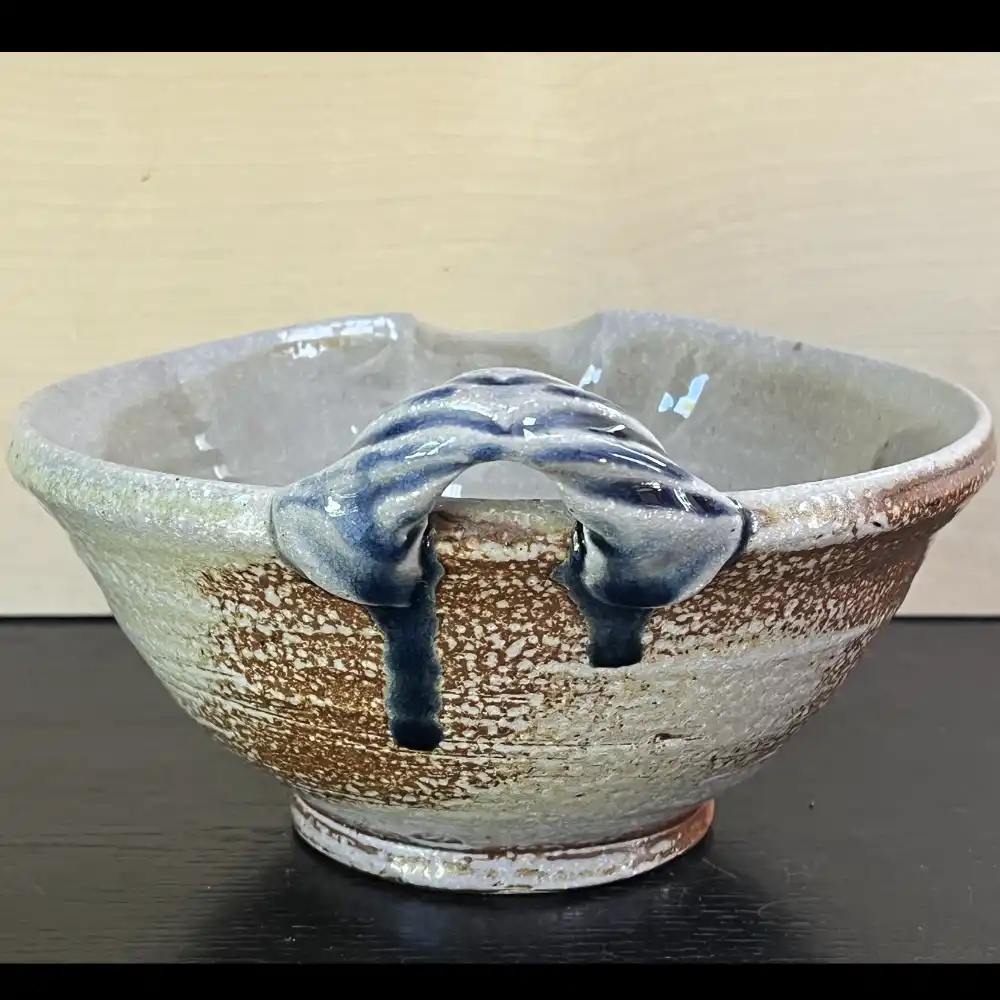
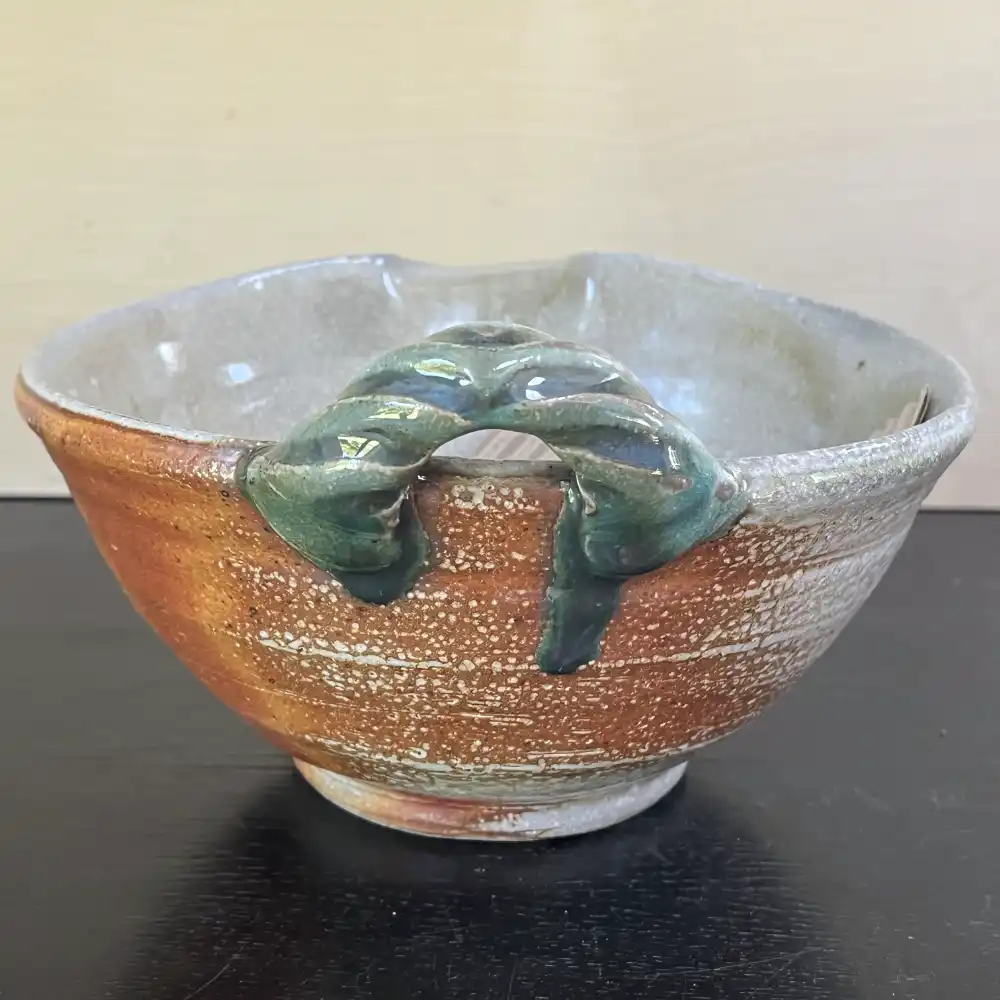
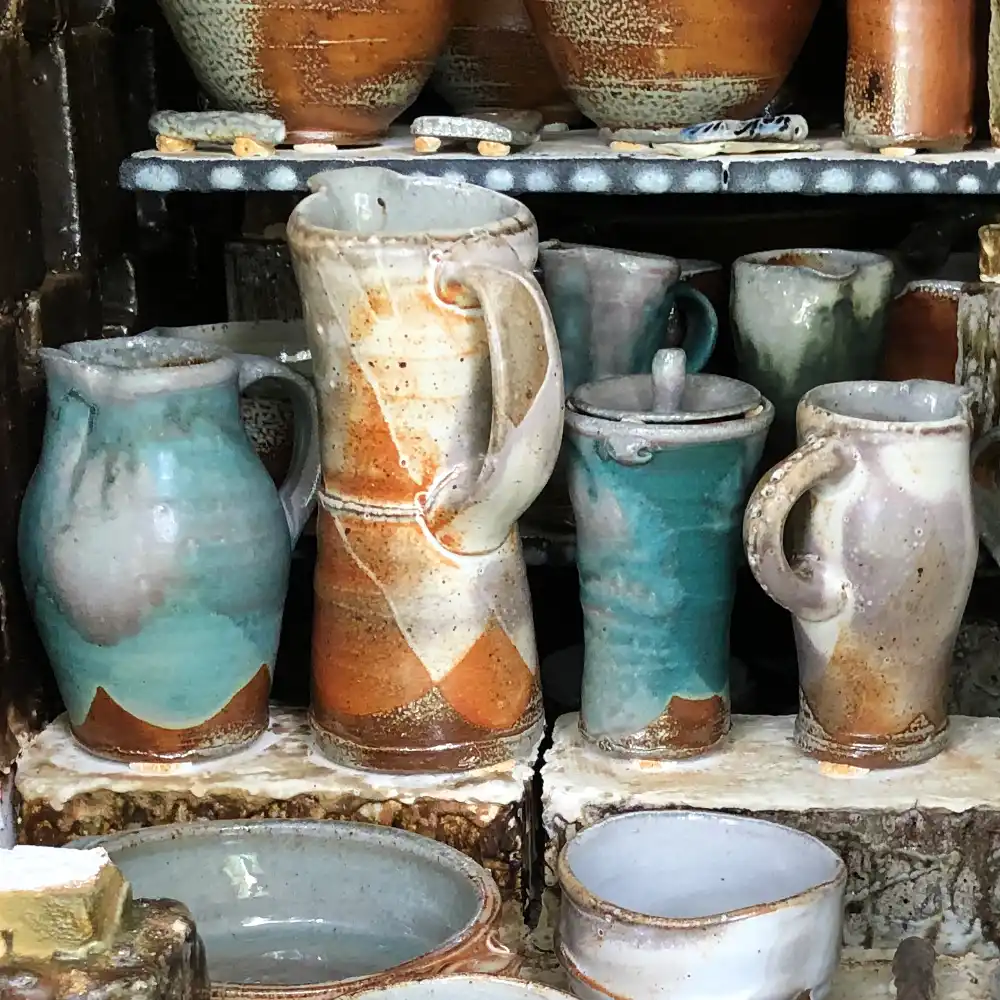
This category has the freedom to not worry about being safe and so can be overloaded with colour oxides or fluxes that make them unsuitable as a liner glaze. Some of the effects can be dramatic colour changes due to the soda interaction, some perform completely differently on white clays versus buff, some have very dry or very fluid surfaces and they can alter their colour response due to glaze thickness.



Application Methods
Very much depends on the glaze and effects you want to achieve. Pouring is a good option for more applied variation (you may need the thin the glaze slightly to prevent the overlaps getting too thick). Spraying works for a more uniform effect or if you want a graduation of thickness induced effects. Dipping is also useful for part coverage. Use of resists can help prevent the glaze getting onto areas and control the process. Brushing on the glaze is another way to create a sense of movement on the pot.
Wadding
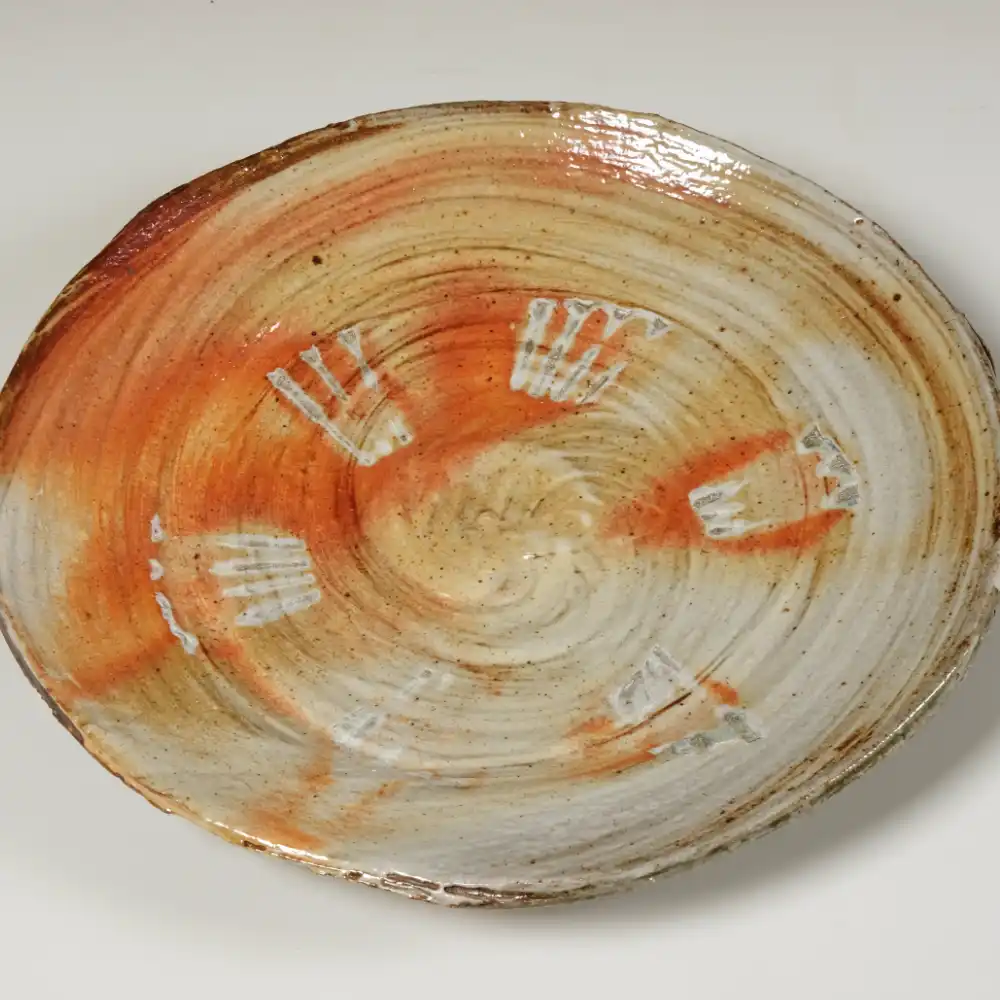
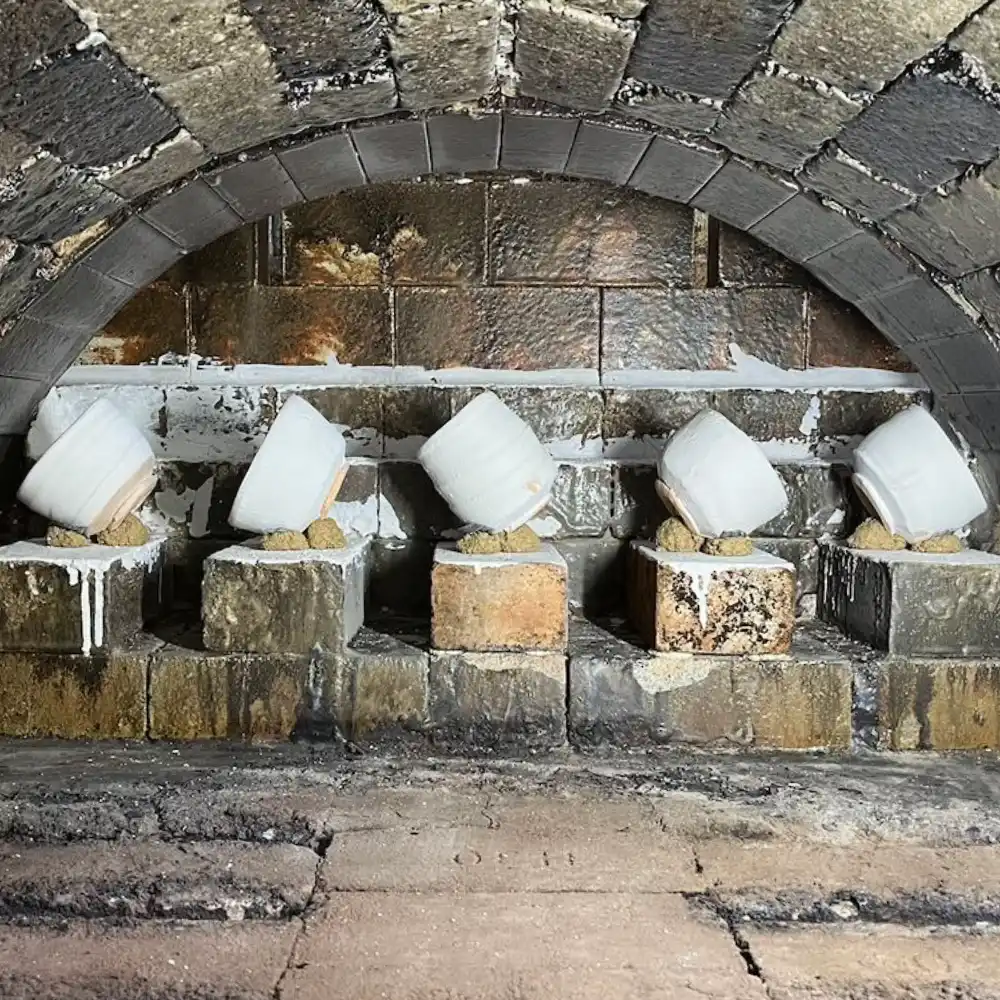
It’s possible to use sea shells as supports (replacing white wadding) which both allows pots to be orientated in different ways (which affects the way the soda hits them) and stack some forms like plates, often making it easier to fit more in. We often use a different type of wadding to support the shell, made from clay, grog, sawdust in equal proportions. The shells usually soak off after the firing and do require sanding.
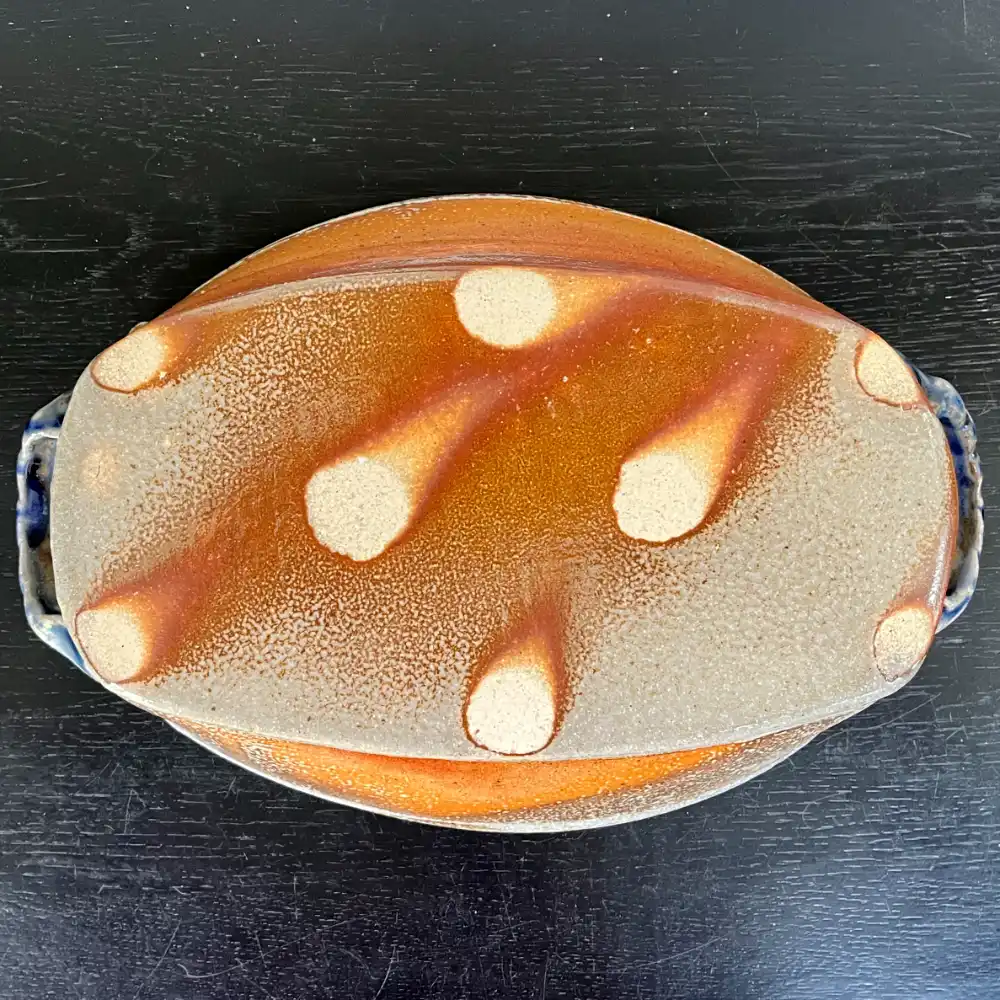
To create comet trail effects you need a gap between the bottom of the piece and the kiln shelf. This is achieved by using fired packers (these are discs about 3cm diameter and 1cm thickness made from a groggy, stoneware clay and bisque fired before use). We use wadding sandwiches to create height, so starting from the bottom it’s: packer, PVA, wadding, PVA, pot. For shell wadding it’s: packer, PVA, wadding, PVA, shell (PVA is glue).
Masking options
These masking materials offer the ability to control the slipping and glazing process, both at a technical level and also aesthetically.
On leather hard clay
Vaseline/baby oil, warm wax, paper
On bone dry clay
Vaseline/baby oil, warm wax, latex, PVA glue, shellac
On bisque ware
Vaseline/baby oil, warm wax, latex, PVA glue, shellac.
Links
Hamish Jackson
https://www.instagram.com/hamish.jackson.pottery/
Casey Beck
https://www.instagram.com/beckpots/
Lisa Hammond
https://www.instagram.com/lisahammondpottery/
Jeremy Stuart
https://www.instagram.com/jemsteward/
Jeff Oestrich
https://www.instagram.com/oestreich_jeff/
Linda Christianson
https://www.instagram.com/lindachristiansonpottery/
Ron Philbeck
https://www.instagram.com/ronphilbeck/
Steve Aitken
https://www.instagram.com/sidestokesteve/
Stuart Spackman
https://www.instagram.com/ashpitallan/
Joe Finch
https://www.instagram.com/joefinchkilns/
Instagram hash tags
#sodaglaze
#sodaglazed